Texture Castles with Kinders

This is one of my favorite projects with kindergarten. Kiddos get to experience several different ways to create texture in their artwork. On the first day I had a bag full of different textures and we passed it around each student had to describe one of the textures. Then I gave students a piece of paper and a rainbow crayon and had them do a texture scavenger hunt. They had to find 5 different textures in the art room and do a rubbing of each one. They loved it!
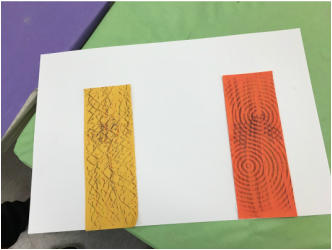
On the first day they used rubbing plates and created a texture on two pieces of colored rectangles that will become the towers of their castle. Then they glued them onto a 12X18" piece of white paper.
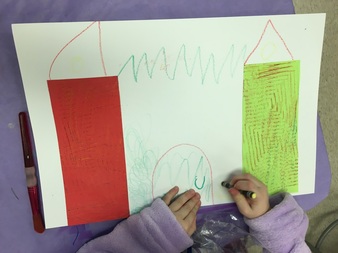
On the second day I had students choose a type of line to draw from one tower to the other then we added triangles for the tops of the towers. Students then added any other details they wanted to their castle such as doors and windows. We talked about how we can draw texture by repeating lines and shapes and add three different textures using this process. They finished it off by painting them with tempera paint.
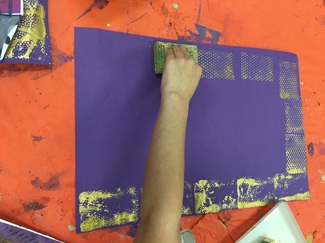
On the last day kids added a texture border to a 12X18 colored construction paper. I had them use some texture stamps I made with blocks of wood and different textured foams I found at Michael's. Students glued down their cut out castles (I decided to have older students cut out their castles because it would take our kinders to long and it was not one of my objectives for the lesson). For finishing touches they added some flags that I cut out of fabric scraps.
I love this lesson because its a great way for students to see all the different ways to create texture in their artwork and the results are awesome!


